

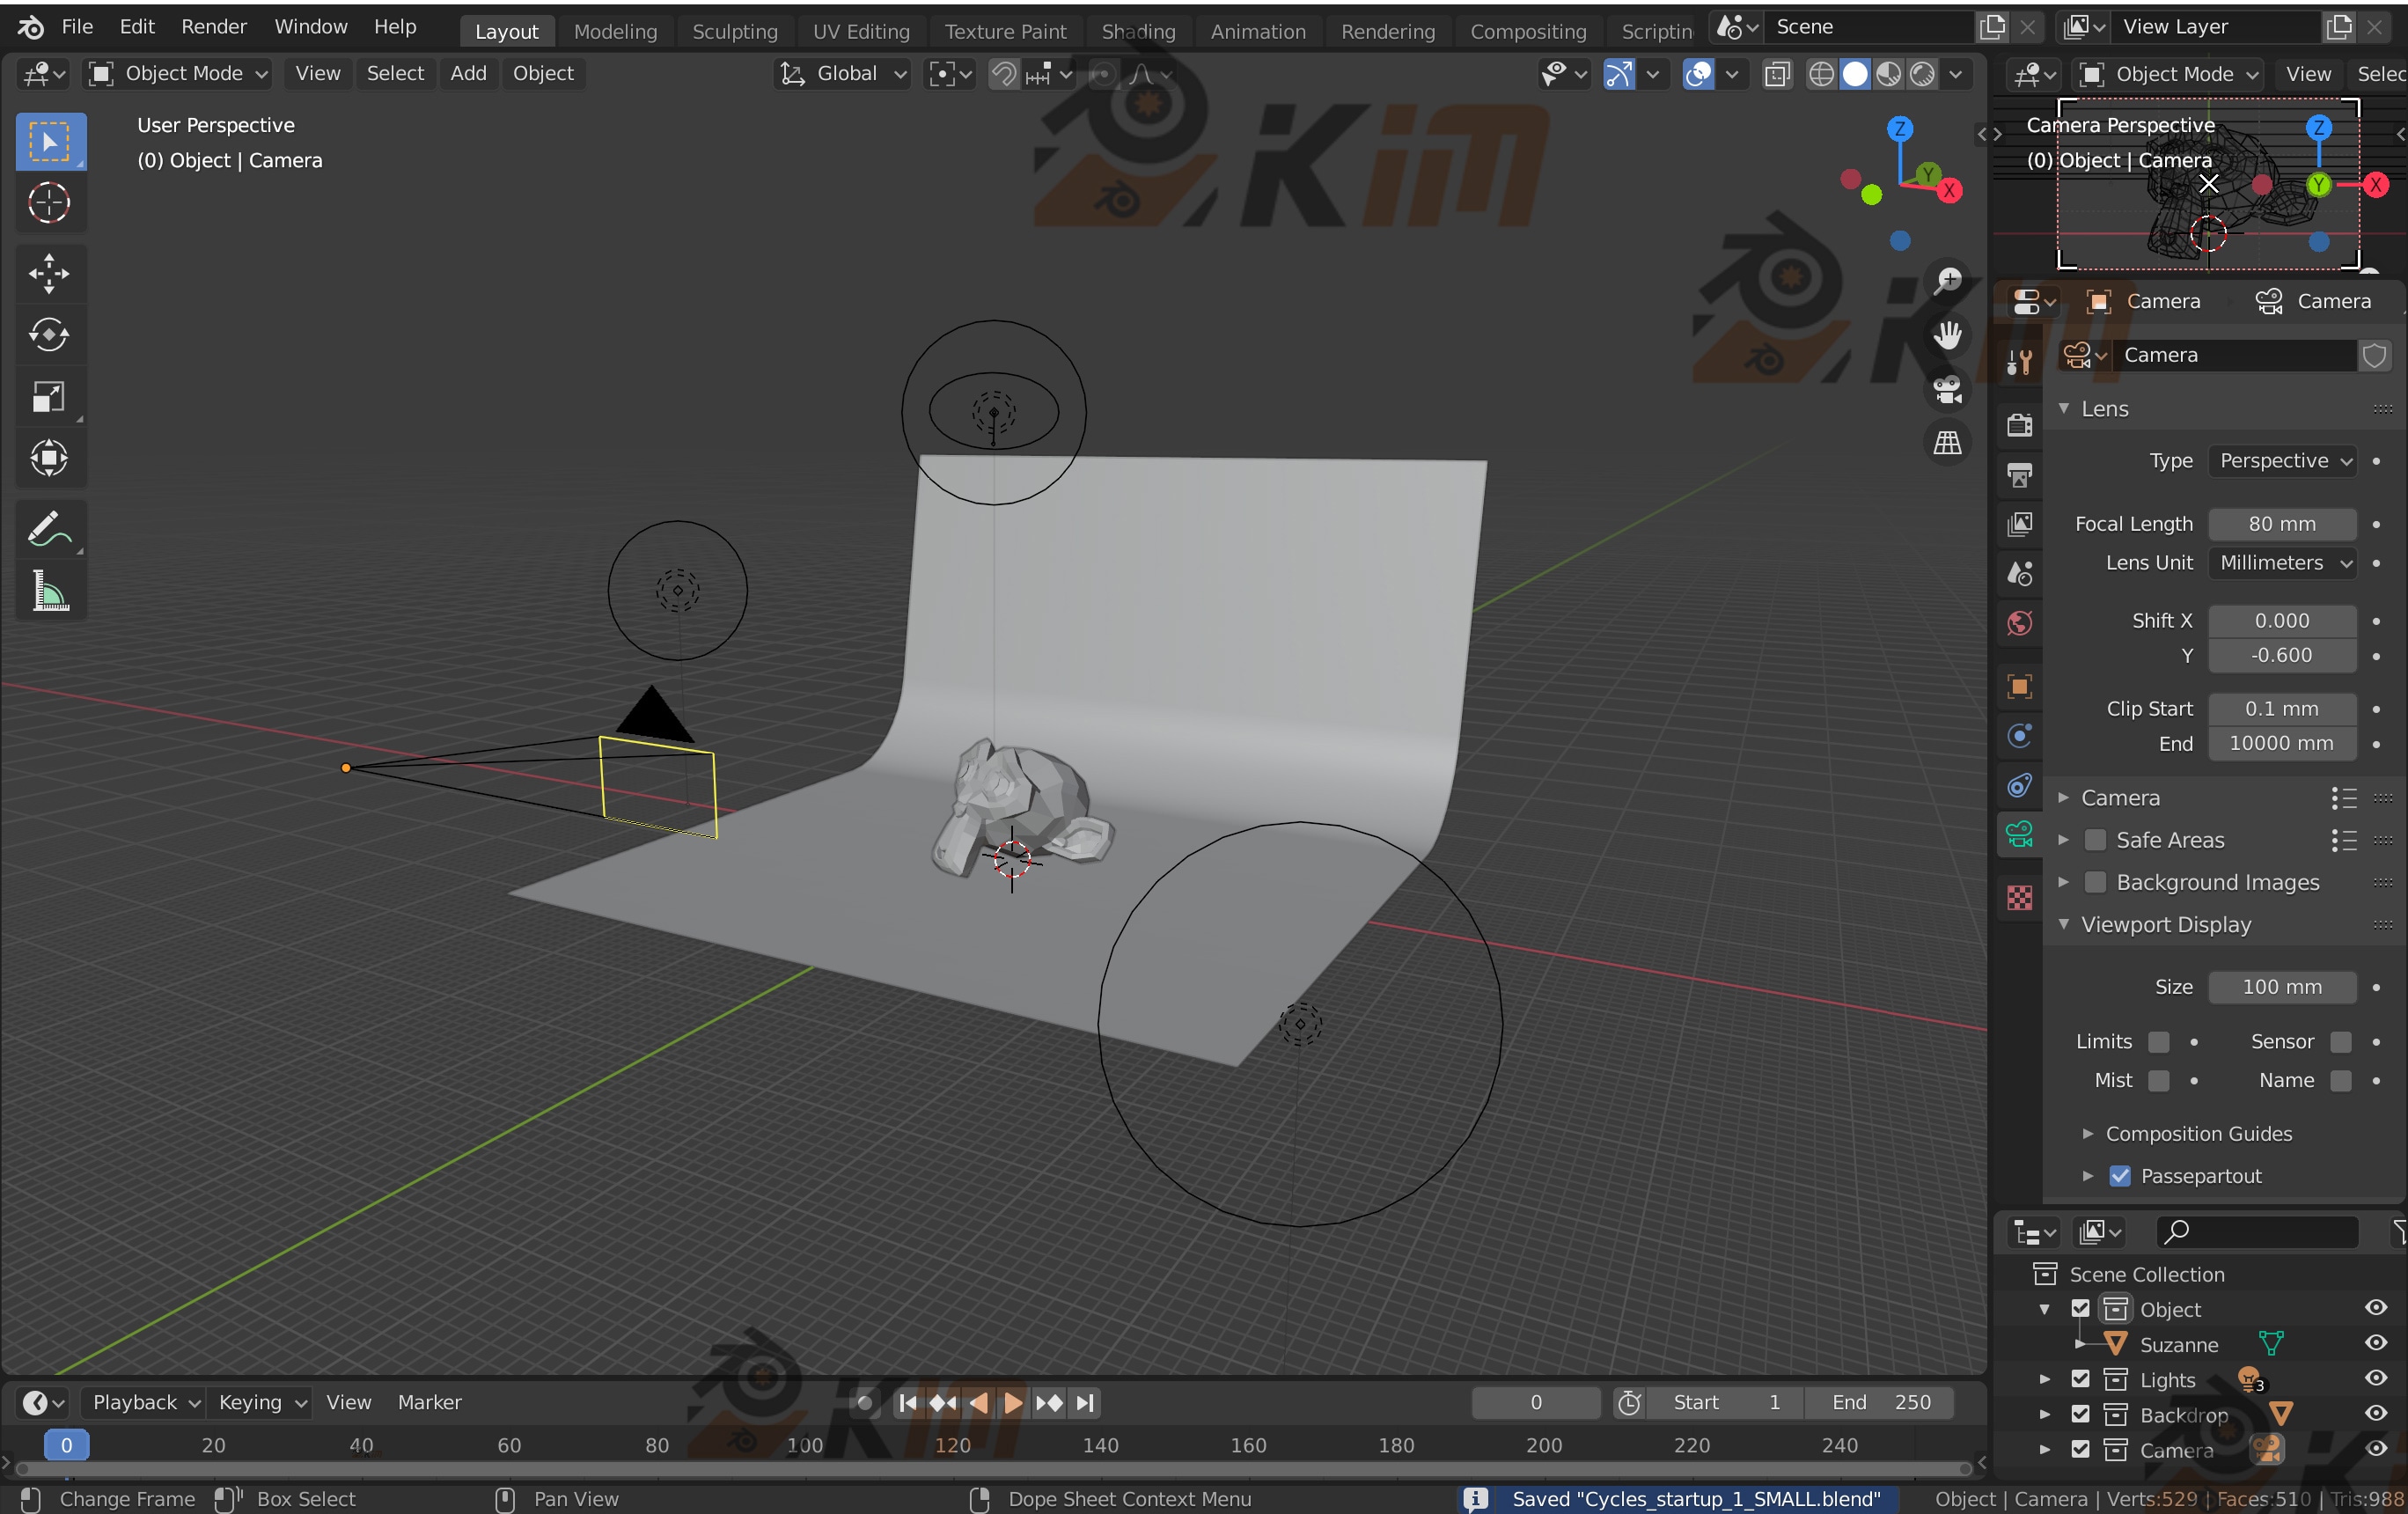
3 setup Cycles scene with world unit set to mm. The lights and cameras are different according to the type of object you will need to model or import (without scaling from a 1:1 model) in Blender.- Grid and clipping is also changed to suit the unit;- There is also an already set compositing node, thanks to the last Blender Guru video (do it here);
Small Setup:- Object Suzy (h. 150mm)- Camera (FL 80mm)- 2 point light + 1 spot light
Medium Setup:- Object Guru Chair (h. 800mm)- Camera (FL 80mm) – 2 point light + 1 spot light
Big Setup:- Object Space-racer (l. 13800 mm)- Camera (FL 35mm)- 3 area light
EDIT: Apparently i couldn’t upload the others in a different blend, so i had to put all of them in same one. Choose which setup you need to use according to the dimension and hide (or delete) the others.
Why: As a product designer i use a lot of different CAD software, mostly for fabrication purpose. This means to work in 1:1 and mm.It’s true that Rhino (i.e.) has a rendering engine built in (Cycles btw) but it’s still not fully developed as a proper render software like Blender. So often i would model in Rhino and in true scale and import the stl or obj file in Blender. The biggest problem would always be to find the exact clamp scale when importing, and then scale the object to whatever dimension, just to behave correctly according to the light. A mess. Now that Rhino as a better management of the mesh, it’s gonna be even more important to have a proper blender scene already setup to true scale.
Also, as a uni design tutor i often suggest Blender for all rendering stuff and having a familiar light setup is a very useful starting point for them.
ps: the layout of the default view is changed according to a more suitable navigation for design (at least this is what my students prefer)


![[Blender+ps流程]地铁和花的场景-魔酷网](https://img.alicdn.com/imgextra/i4/3454600313/O1CN01bxiUJG1EBOnXmv10M_!!3454600313.jpg)


暂无评论内容